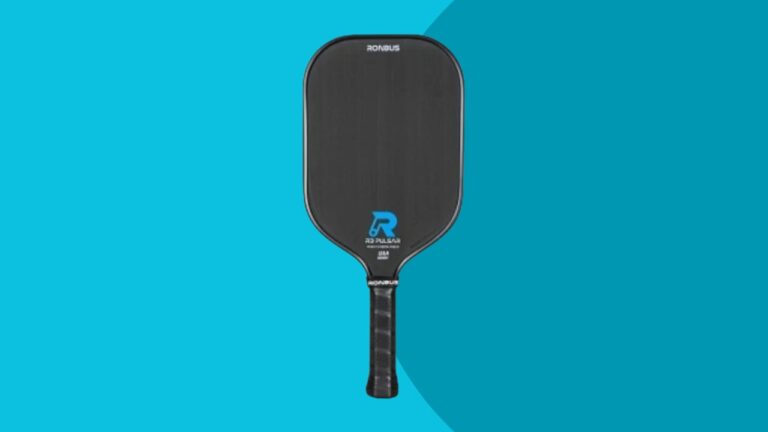
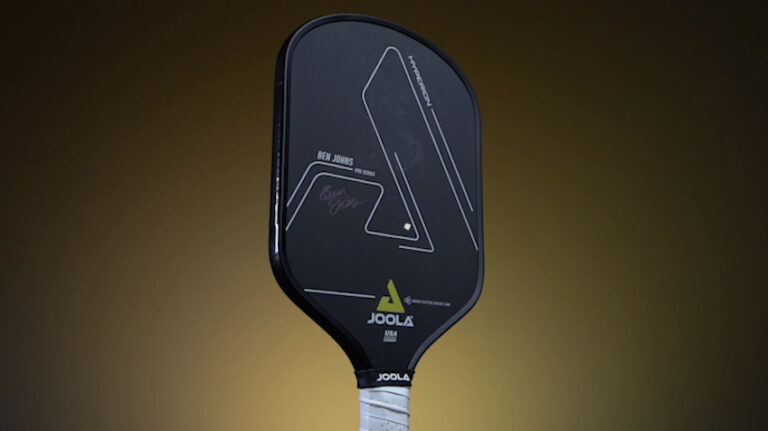
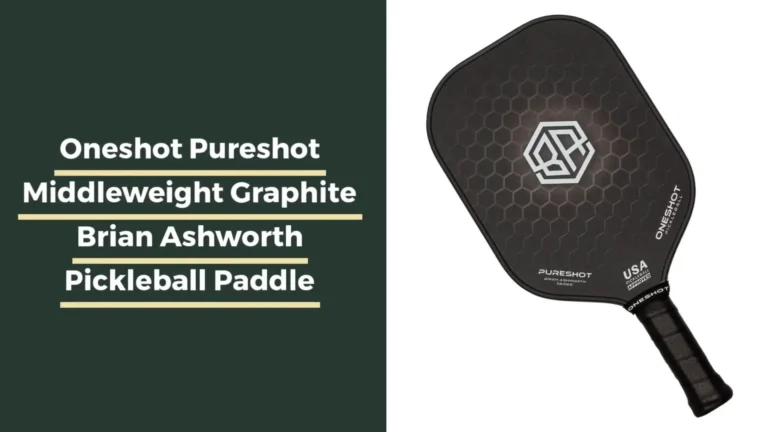
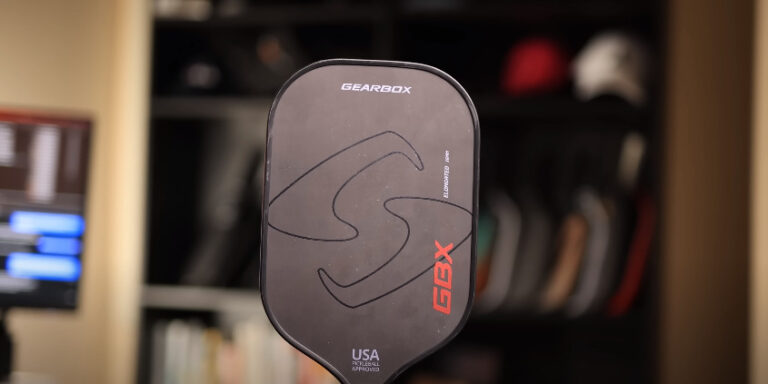
Painting your pickleball paddle is a fun and easy way to personalize your equipment and make it stand out on the court. With very few simple materials and some basic painting skills, you can transform your paddle into a work of art. Remember to take your time out and work in thin, even layers, and do not be afraid to get creative with your designs.
How to Paint a Pickleball Paddle: A Step-by-Step Guide
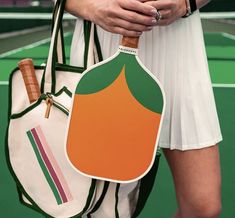
Pickleball is a fun game and exciting activity that is played by people of all ages and skill levels. One way to personalize your pickleball experience is by painting your paddle. Whether you want to add a splash of different colors or create a custom design, painting your paddle can be a fun and easy DIY project. In this article, we will show you how to paint a pickleball paddle, including the necessary materials and step-by-step instructions.
The need to paint your paddle would differentiate your paddle from the others. Also if it gets lost sometimes, it would be much easier for you to find it earlier. It gives you a vibe of encouragement that you did it all by yourself. So, give it a try and design the pickleball paddle with our creative ideas.
Materials that can be used are listed below:
- Sandpaper (220 grit)
- Primer (suitable for wood or composite materials)
- Paint (acrylic or spray paint)
- Clear coat (optional)
- Paint brushes or foam roller
- Masking tape or painter’s tape
- Drop cloth or newspaper
If you are planning to start playing pickleball or you are an experienced player of pickleball, you will want a paddle to play with. The paddle can be used just as it is, or you can add different features to it according to whatever you like. Here, we have discussed the instructions you can follow if you want to customize the paddle.
Instructions
Step 1: Prepare the Paddle
Before you begin painting, it is necessary to prepare the paddle. Start by sanding the paddle with 220-grit sandpaper to remove any dirt, rough spots, or imperfections. This will ensure that the paint will adhere completely to the surface. Once the paddle is smooth, wipe it down with a damp cloth to remove any dust or debris.
Step 2: Apply Primer
The next step is to apply a primer to the paddle. This will help the paint to adhere better and will also help to conceal any wood grain or imperfections. Use a foam roller or paintbrush to apply the primer easily, making sure to cover the entire surface of the paddle.
Allow the primer to dry completely before moving on to the next step. Primer act as a concealing material. If there are any holes or material is broken from somewhere, it will help to conceal it smoothly. Also, it gives a smooth furnished look to your broken paddle.
Step 3: Apply Paint
Once the primer is dry enough, it is time to apply the paint. You can use acrylic paint or spray paint, depending on your preference. If you are using acrylic paint, use a paintbrush to apply the paint in thin, even layers. If you are using spray paint, hold the can about 10-12 inches away from the paddle and apply the paint in a full sweeping motion.
Apply as many coats as required until you achieve the desired color and opacity. There is no need for any professional painting skills, you can do it by yourself. If you think someone else like your friend can do it better, you should take assistance from them. Also, you may practice your favorite design on a simple piece of paper and then give it a new try. Hope this might work best for you.
Step 4: Add Design
If you want to add a different design or pattern to your paddle, you can use masking tape or painter’s tape to create stencils. Apply the tape to the paddle in your desired pattern, then paint over it. Once the paint is thoroughly dried, remove the extra tape to reveal the design. This is the easiest way you can add a different yet attractive design to your paddle.
You take a printout of the design. No wtake a transpeannrent paper. Place it over the printed design and follow the pattern with our paintbrush. This will help you in getting a professional look for your paddle. Now that it is completely dried, paste it over your pickleball paddle.
Step 5: Apply a Clear Coat (Optional)
To protect your paint job and give it a glossy finish, you can apply a clear coat. This is optional, but it is a good idea if you want to preserve your paint job for a long time. Use a foam roller or paintbrush to apply the clear coat, making sure to cover the entire surface of the paddle.
Allow the clear coat to dry completely before using the paddle. A clear coat of transparent color would play a role in sealing the painting. This is an optional task but very important. It is recommended to last coat the painting with any spray.
Dos
- You can use the ant design that you want to add to your paddle.
- Start by making any sketch with a pencil. If you are happy with your performance you can make it permanent with any marker.
- Use any kind of paint like acrylics, water, or oil that suits the material of your pickleball paddle.
- Start by cleaning the paddle to remove any dirt or debris because if it is left uncleaned, it would cause the dirt to accumulate with the paint. And the textured layer will not let you play properly.
- You can also add any outline around the paddle with any sticky adhesive and remove it as your personal choice.
- When the painting is completely furnished, you can add any spray that will permanently stick the paint to the paddle. You can also use hair spray if the other one is not available.
Donts
- Do not use any reflective paint, because it would deceive you even while playing.
- Another reason not to use any reflective paint is that it may deceive the opponent while playing. If it does that, then the standards measuring association would not allow you to play with that paddle In a professional tournament.
- Do not use any heavy material like the rubber or lead in your paint. It makes the paddle heavy and causes uneasiness while playing.
- It is not allowed to use the paddle with any holes or textured surfaces. Because the textured surface would allow the ball to spin extra fastly. This technique is against the standards.
- Anything that is over-customized is not allowed. Because the standards association is well aware of all the ways to change how a game is played illegally.
For the cushioning purpose, you can apply better additional coats of Cushion Master II. It will be taking approximately 3 pails of CushionMaster II, per coat.
The recommended minimum pickleball court is 30′ x 60′ according to the standards. This includes a safe area outside of the area where you play and is the industry standard. Here are some material kits depending on how many different colored areas you prefer. Note, when applying materials on a two or three-color pickleball court, it is great to apply the outside color on the entire court (first & in two coats). Then, kitchen colors and the playing are applied on top. This will minimize and change the direction of the application that is resulting in a much better look, and the fastest application.
Conclusion
Painting your pickleball paddle is a fun and easy way to personalize your equipment and make it stand out on the court. With very few simple materials and some basic painting skills, you can transform your paddle into a work of art. Remember to take your time out and work in thin, even layers, and do not be afraid to get creative with your designs.
By following the simple and small steps, you can easily get your painting customization at home. Also, this is very budget-friendly. Instead of getting any professional assistance, you can get this job done by yourself with the less amount possible. Happy painting!

